
Hey, community! 👋
My name is Shruti Agarwal, and I’m a Streamlit Creator.
I love to use Streamlit when it comes to building and deploying beautiful apps in minutes.
I can vividly recall when I first tried to build a Streamlit app by using the online IDE (Integrated Development Environment) Replit. The Repl couldn’t load the app in a browser. It turned out that many Replit users have faced the same issue. So I built the Streamlit Beginner Template Tour (a guide for Streamlit basics) and created a Replit template. It successfully loaded in a browser! 🎉

In this post, I’ll show you how to do this step-by-step:
- Step 1. Create a new Repl
- Step 2. Install Streamlit
- Step 3. Write libraries
- Step 4. Write “Hello World!” 👋
- Step 5. Run your Streamlit app
- Step 6. Add more code! ✨
If you can’t wait to try it, here's the app and here’s the repo.
Build a Streamlit app on Replit
Step 1: Create a new Repl
If you don’t already have a Replit account, sign up for it and click on “+” to create a Repl. Select “Python template” and name it “streamlit_test”:

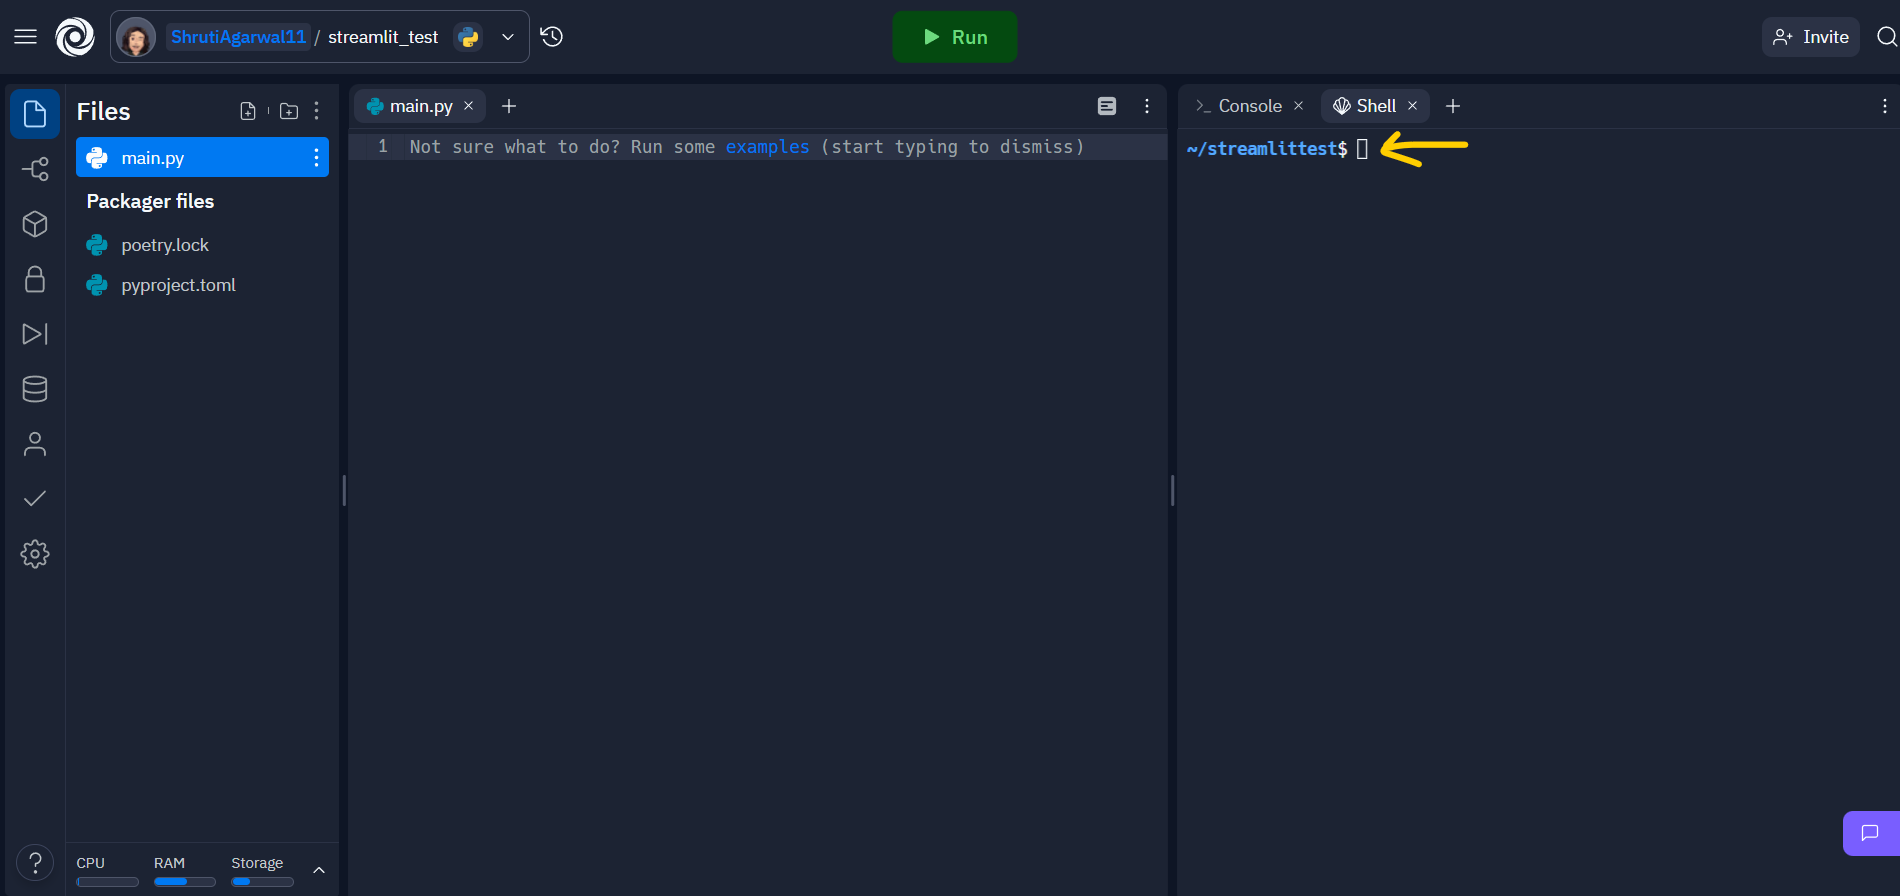
Step 2: Install Streamlit
Head to the “Shell” section of your Repl and type the following commands:
$ pip install streamlit
$ streamlit --version
Step 3: Write libraries
Add a new file as requirements.txt for writing libraries. Write these libraries to use inside your main code:
streamlit==1.12.2
pandas==1.4.4
numpy==1.23.2
It will look something like this:
Step 4: Write “Hello World!” 👋
Write the below code in main.py file:
import streamlit as st
st.title('Hello World!')
st.write('This is a simple text')
This imports the Streamlit library and adds a title along with the simple text. Your Repl will automatically save your work! Now, it’s time to run your app. 🤞
Step 5: Run your Streamlit app
Go back to “Shell”and type $streamlit run main.py. If it asks you to register your email, press the Enter key, and your app will open in a new browser:

Step 6: Add more code! ✨
Go ahead and add more code:
import pandas as pd
import numpy as np

# Expander section
with st.expander("About"):
  st.write("""Trying to add a data table, chart, sidebar button with
          ballons, an image, text input & exploring tabs!""")

# Sidebar section
with st.sidebar:
  st.subheader('This is a Sidebar')
  st.write('Button with Balloons 🎈')
  if st.button('Click me!✨'):
    st.balloons()
  else:
    st.write(' ')

# Dataframe and Chart display section
st.subheader('Interactive Data Table')
df = pd.DataFrame(
    np.random.randn(50, 3),  # generates random numeric values!
    columns=["a", "b", "c"])
st.dataframe(df)

st.subheader('Bar Chart 📊')
st.bar_chart(df)

# Image upload and text input section
st.subheader('An Image')
st.image('https://www.scoopbyte.com/wp-content/uploads/2019/12/tom-and-jerry.jpg')

st.subheader('Text Input')
greet = st.text_input('Write your name, please!')
st.write('👋 Hey!', greet)


# Tabs section
st.subheader('Tabs')
tab1, tab2 = st.tabs(["TAB 1", "TAB 2"])

with tab1:
  st.write('WOW!')
  st.image("https://i.gifer.com/DJR3.gif", width=400)

with tab2:
  st.write('Do you like ice cream? 🍨')
  agree = st.checkbox('Yes! I love it')
  disagree = st.checkbox("Nah! 😅")
  if agree:
    st.write('Even I love it 🤤')
  if disagree:
    st.write('You are boring 😒')
Here’s the code breakdown:
- Libraries
pandas — for writing a dataframe
numpy — to generate random numbers
- Containers
st.expander — to add an “About” section
st.sidebar — for passing Streamlit elements by using with notation
st.tabs — separated tabs to pass Streamlit elements by using with notation
- Widgets
st.button and st.balloons — a button for throwing balloons 🎈
st.text_input — a single-line text input
st.checkbox — to select multiple options
- Data Display Elements
st.dataframe — displays pandas dataframe as a data table
st.bar_chart— displays a beautiful bar chart
st.image — displays an image
Once you make these changes, the app will show a message in the top right corner. Click on “Always rerun” to see the changes:
Congratulations! 🥳
Now you know how to build an interactive and beautiful Streamlit app. It’ll look something like this:
Explore more with my Replit template in just two steps:
1. Click on “Use Template” to fork it and add your own flair!
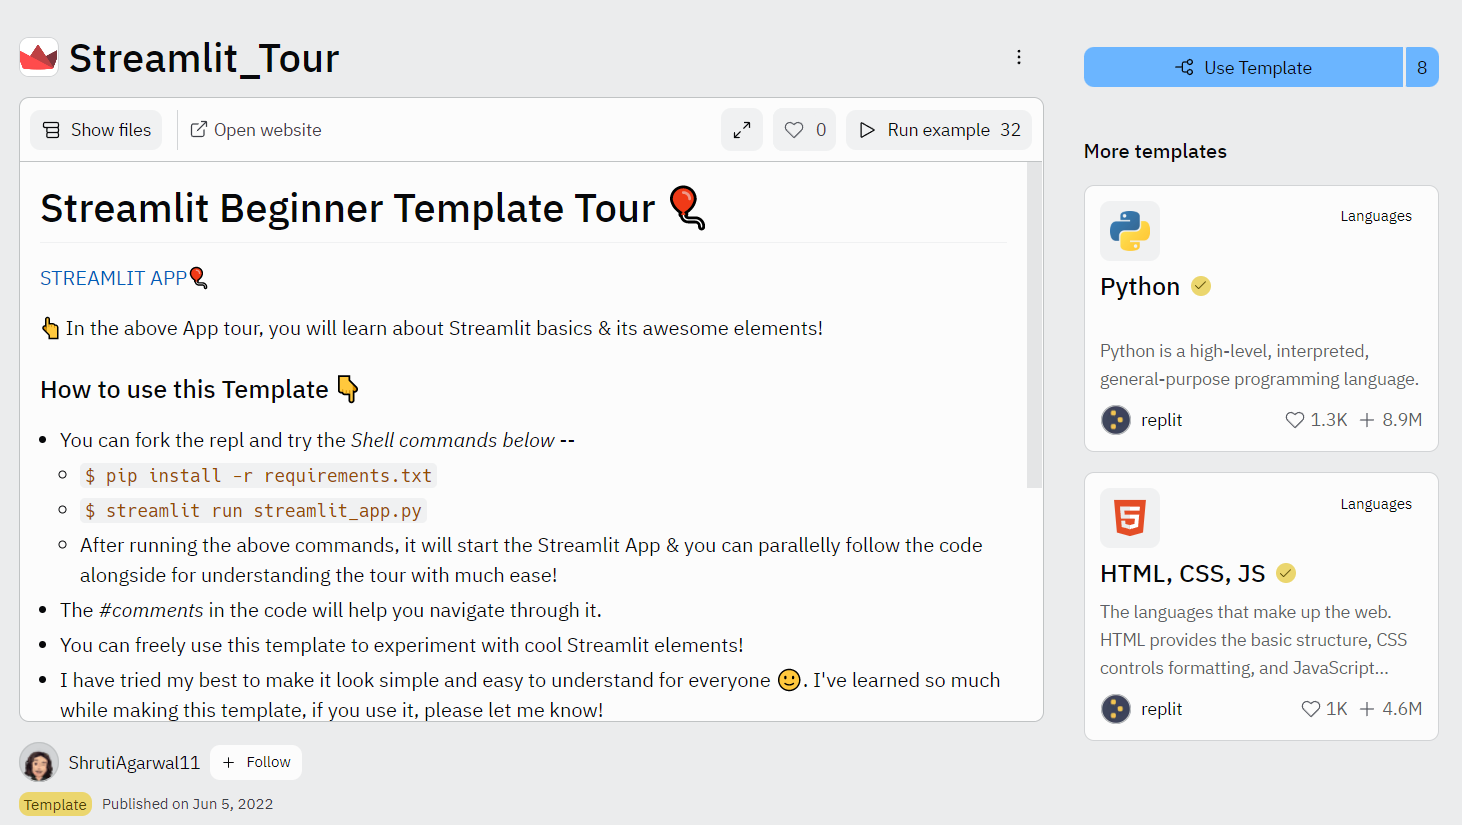
2. In your forked Repl, go to “Shell” and type:
$ pip install -r requirements.txt
$ streamlit run streamlit_app.py
You’ll be able to view your app in a browser.
Wrapping up
Thank you for reading my post! I had so much fun building the Streamlit app and the Replit template. I hope you'll use it to create your own apps. If you want to share what you built or have any questions, please post them in the comments below or connect with me on Twitter, LinkedIn, or GitHub.
Happy Streamlit-ing! 🎈


Comments
Continue the conversation in our forums →