
Want to build your first Streamlit component but feel too intimidated to get started? We’ve got you covered.
In this post, you’ll learn how to:
- Build a basic component
- Publish your component for others to use
Want to dive right in? Here’s the repository for an example component and an app showing it in action.
But first, let’s do a quick refresher on terminology…
What’s a Streamlit component?
A Streamlit component is a shareable Streamlit plugin that lets you add new visuals and interactivity to apps (read more in our docs).
Why would you want to use or build components? Because although Streamlit has a ton of built-in functionality, sometimes you might want to add visualization or interactivity to your apps that’s not available in Streamlit (yet) and then share it with the community.
There are three types of components:
- Python-only components: Python code that doesn’t require custom HTML/JavaScript.
- Static components: Python + HTML/JavaScript that can be embedded in your app.
- Bidirectional components: Python + HTML/JavaScript that can be embedded in your app and can return data back to it.
Wondering what components to build? Here are some ideas:
- A new baseweb component that’s not available in Streamlit.
- A clickable graph that lets you use the clicked value in your app.
- A text input box that returns the value as you type—no “enter” required (this is what we’ll be building together in this post).
- Check out the community components tracker to see what sorts of components have already been built.
Build a basic component
Step 1. Use cruft to create the boilerplate code
Cruft gives you pre-existing project templates. You can install it with pip, pipx, or brew, then run this command: cruft create https://github.com/blackary/cookiecutter-streamlit-component/.
Next, put in your component's details:
author_name [Bob Smith]: Zachary Blackwood
author_email [bob@example.com]: example@example.com
project_name [Streamlit Component X]: Streamlit Keyup
package_name [streamlit-keyup]: streamlit-keyup
import_name [streamlit_keyup]: st_keyup
description [Streamlit component that allows you to do X]: A streamlit component that allows you to get input from a textbox after every key press
deployment_via_github_actions [y]: y
Select open_source_license:
1 - MIT license
2 - BSD license
3 - ISC license
4 - Apache Software License 2.0
5 - GNU General Public License v3
6 - Not open source
Choose from 1, 2, 3, 4, 5, 6 [1]: 1y for the deployment_via_github_actions question. It’s the default value, so you can just press <enter> when you have to accept it.This template will create the following structure:
streamlit-keyup
├── .cruft.json
├── .github
│   └── workflows
│       └── publish_PYPI_each_tag.yml
├── .gitignore
├── LICENSE
├── MANIFEST.in
├── README.md
├── requirements.txt
├── setup.py
└── src
    └── st_keyup
        ├── __init__.py
        └── frontend
            ├── index.html
            ├── main.js
            ├── streamlit-component-lib.js
            └── style.css
You’d generate this layout if you were to release this package as streamlit-keyup (imported as import st_keyup), so these are the values for package_name and import_name.
Step 2. Add basic HTML
Cruft will make a file for you at src/st_keyup/frontend/index.html.
Just add new tags in the body:
<body>
  <div id="root">
    <label id="label" for="text_input">This is a label</label>
    <div class="input">
	  <input type="text" name="text_input" id="input_box" />
    </div>
  </div>
</body>
Next, run streamlit run src/st_keyup/__init__.py. Since the boilerplate __init__.py file has some content, this is what you’ll see:
Nothing fancy yet, but you’re getting there!
Step 3. Add JavaScript to return the data when a key is pressed
The frontend/ folder has a main.js file with most of the standard code. Add code only inside the onRender function and the if (!window.rendered) block.
The code will do the following:
1. Get the values that the user has specified when using the component (label and value):
const {label, value} = event.detail.args;
2. Get the <label> tag from your HTML page and set the text to the user’s label:
const label_el = document.getElementById("label")
label_el.innerText = label
3. Get the <input> tag from your HTML page and—if the user specified a default value for the input—set the starting value to that:
const input = document.getElementById("input_box");
if (value) {
  input.value = value
}
4. Whenever there is a “keyup” event on the input tag (meaning, the user hit a key), send the current input value back to the component:
input.onkeyup = event => sendValue(event.target.value)
The final onRender function will look like this:
function onRender(event) {
  // Only run the render code the first time the component is loaded.
  if (!window.rendered) {
    // Grab the label and default value that the user specified
    const {label, value} = event.detail.args;

    // Set the label text to be what the user specified
    const label_el = document.getElementById("label")
    label_el.innerText = label

    // Set the default value to be what the user specified
    const input = document.getElementById("input_box");
    if (value) {
      input.value = value
    }

    // On the keyup event, send the new value to Python
    input.onkeyup = event => sendValue(event.target.value)

    window.rendered = true
  }
}
5. As an extra step, at the end of the script set the widget’s height to 85px:
Streamlit.setFrameHeight(85)
At this point, your Python code isn’t properly passing the label and the value. To see the JavaScript pass back the typed value to Streamlit, run the app again and type in the input box:
You’re almost there!
Step 4. Set up your Python code
To specify the label and the value correctly, update the st_keyup function in src/st_keyup/__init__.py:
def st_keyup(
    label: str,
    value: Optional[str] = "",
    key: Optional[str] = None,
):
    """
    Create a Streamlit text input that returns the value whenever a key is pressed.
    """
    component_value = _component_func(
        label=label,
        value=value,
        key=key,
        default=value
    )

    return component_value
For your demo Streamlit app to work, update the main function:
def main():
    st.write("## Example")
    value = st_keyup("This is a label!")

    st.write(value)

    st.write("## Example with value")
    value2 = st_keyup("With a default value!", value="Default value")

    st.write(value2)
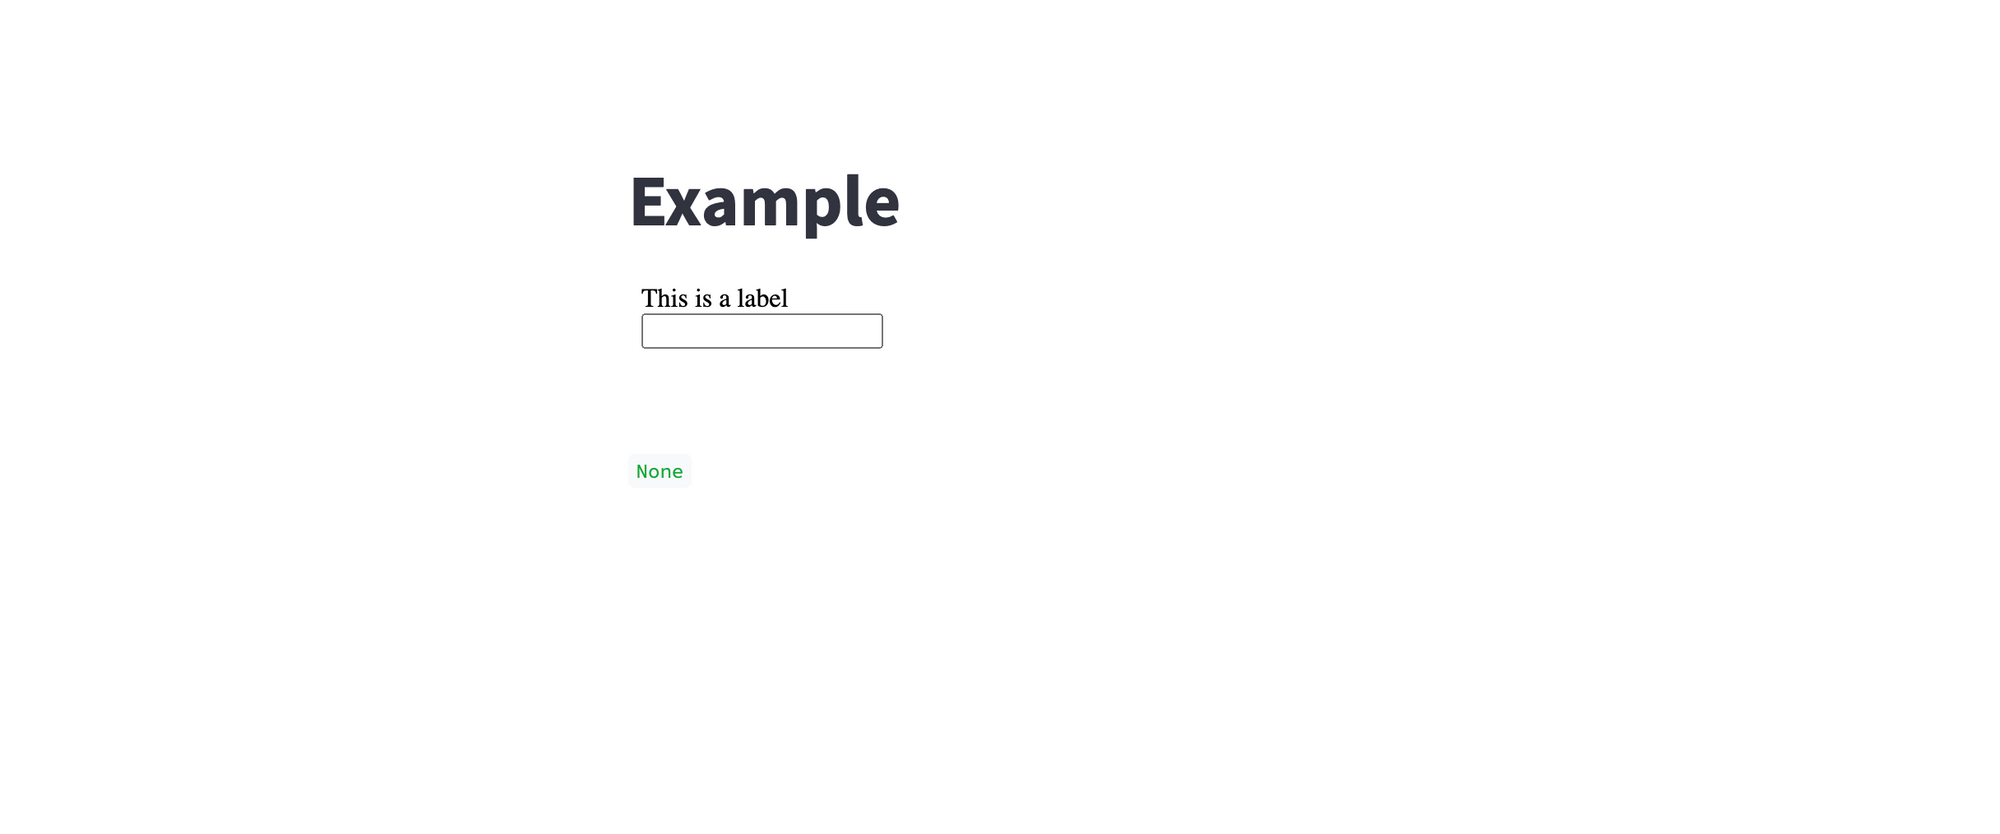
Run streamlit run src/st_keyup/__init__.py and you’ll see something like this:
Your component is working!
Want it to look like the built-in Streamlit textbox? Let’s add some CSS to it.
Step 5. Add CSS for styling
Fiddling with CSS may take a while. You can use your browser’s DevTools to copy the CSS from the built-in Streamlit st.text_input to your style.css file (see an example of the final CSS here).
Add it and reload the page. Your app will look something like this:
Publish your component for others to use
It’s fun to have a component for yourself, but it’s more useful to publish it as a PyPI package. There is a file called .github/workflows/publish_PYPI_each_tag.yml that tells GitHub to publish the latest version of your package to PyPI every time you make a new release.
Here is how to make it happen:
Step 1. Push your code to GitHub
Go to https://github.com/new and read the instructions on how to create a new repository. Don’t add a README, a .gitignore, or a license as they’re already in your repository.
Step 2. Create a PyPI account and make an API token
Go to pypi.org and create an account, then go to https://pypi.org/manage/account/#api-tokens and create a new API token for this project. Copy the API key, go to your repo’s settings and choose secrets:
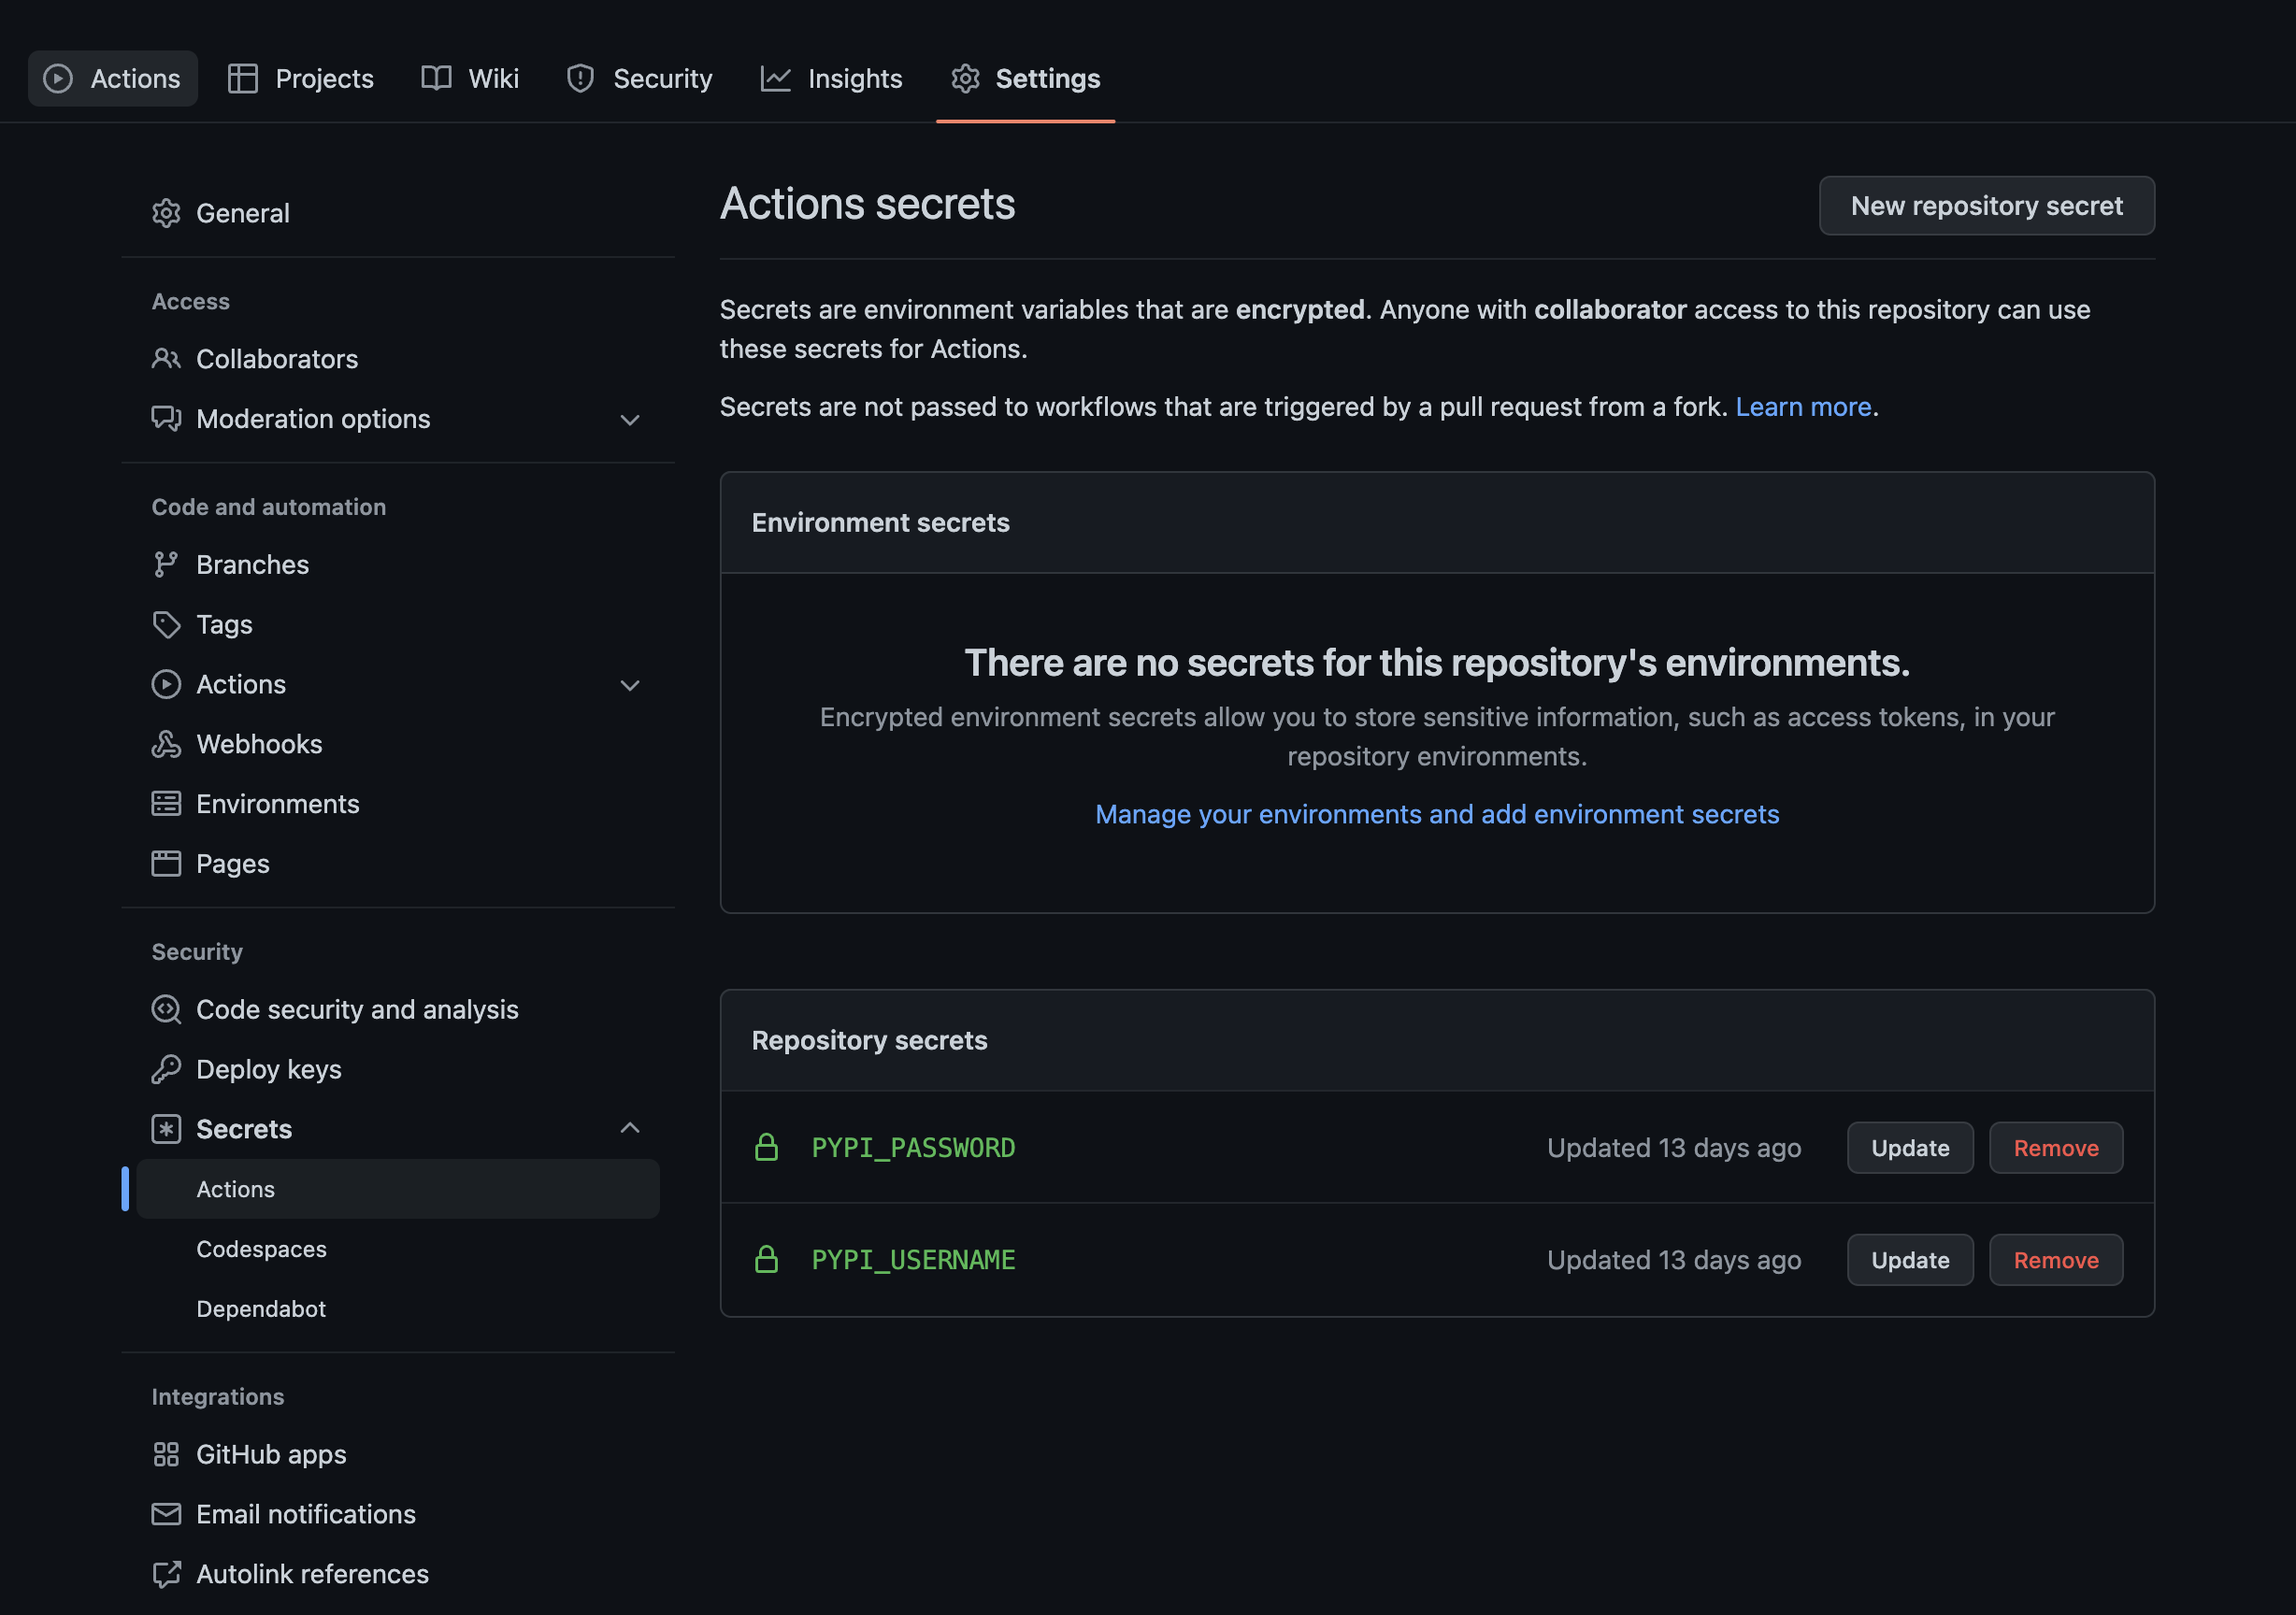
As it said in the PyPI instructions when you created the API key, set your PYPI_USERNAME as __token__ and put the token value in PYPI_PASSWORD.
Step 3. Create a release on GitHub (it’ll trigger a release to PyPI)
On the right side of your repo, click on the “Releases” link, then on “Draft a new release,” and choose a tag (in your setup.py, the version is set to 0.1.0, so make that your release tag with a v in front—like v0.1.0).
Step 4. Go to the Actions tab to see if the release succeeded, then test it!
If the initial release has succeeded, you’ll see something like this:

To test if it worked, go to pypi.org and look for the new package. Then try doing pip install <your-package-name>.
name in setup.py and use an account on test.pypi.org instead of pypi.org. Read more about using test.pypi.org here.Bonus tips:
- Don’t forget to update the
versionin setup.py every time you make a new release. - Once you have a GitHub repository, add a URL argument in setup.py that points to it.
- Add the
streamlit-componenttag to your GitHub repo. - Announce your component on the Forum.
Wrapping up
Now you know how to make your first component! Hopefully, it’ll inspire you to create more components and to keep making Streamlit a better tool for building all sorts of apps.
If you have any questions, feel free to post them in the comments below or on the Forum.
Happy Streamlit-ing! 🎈


Comments
Continue the conversation in our forums →