
Hey, community! 👋
My name is Jessi Shamis, and I’m a designer at Streamlit.
When making apps, I was constantly trying to figure out their design before coding them. I wanted an extra step between coming up with an app idea and jumping straight into code. So I took the open-source library (most of st.commands) and made it into Figma components.
Now I could prototype my apps before deciding how to build them! 🎉
In this post, I’ll show you how to build a Streamlit app in Figma step-by-step:
- Visit our Streamlit Community page on Figma to see our Design System
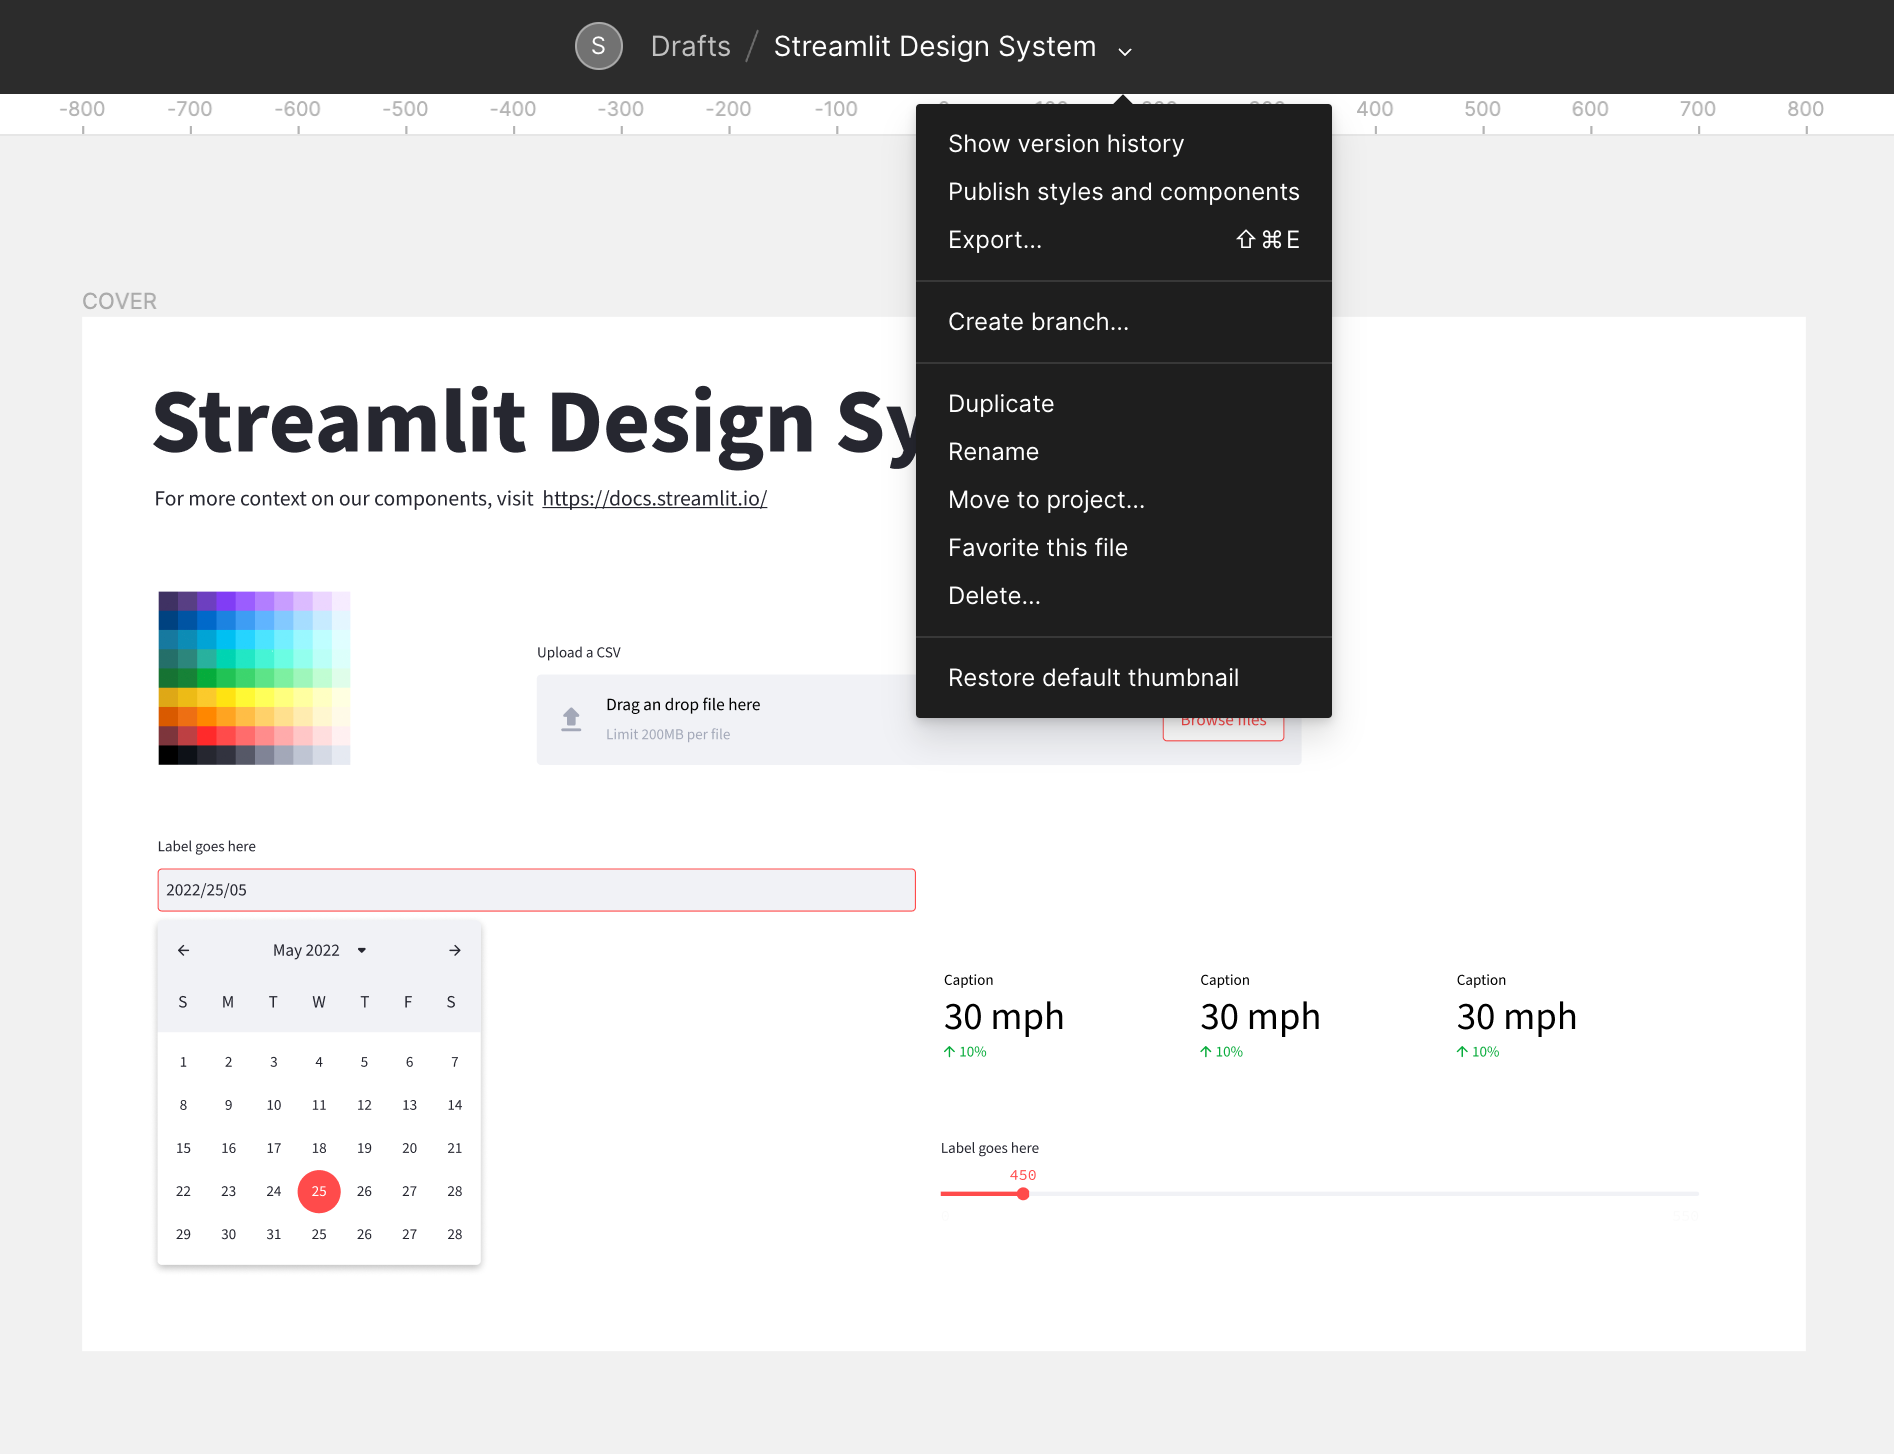
- Click on Streamlit Design System and make yourself a copy
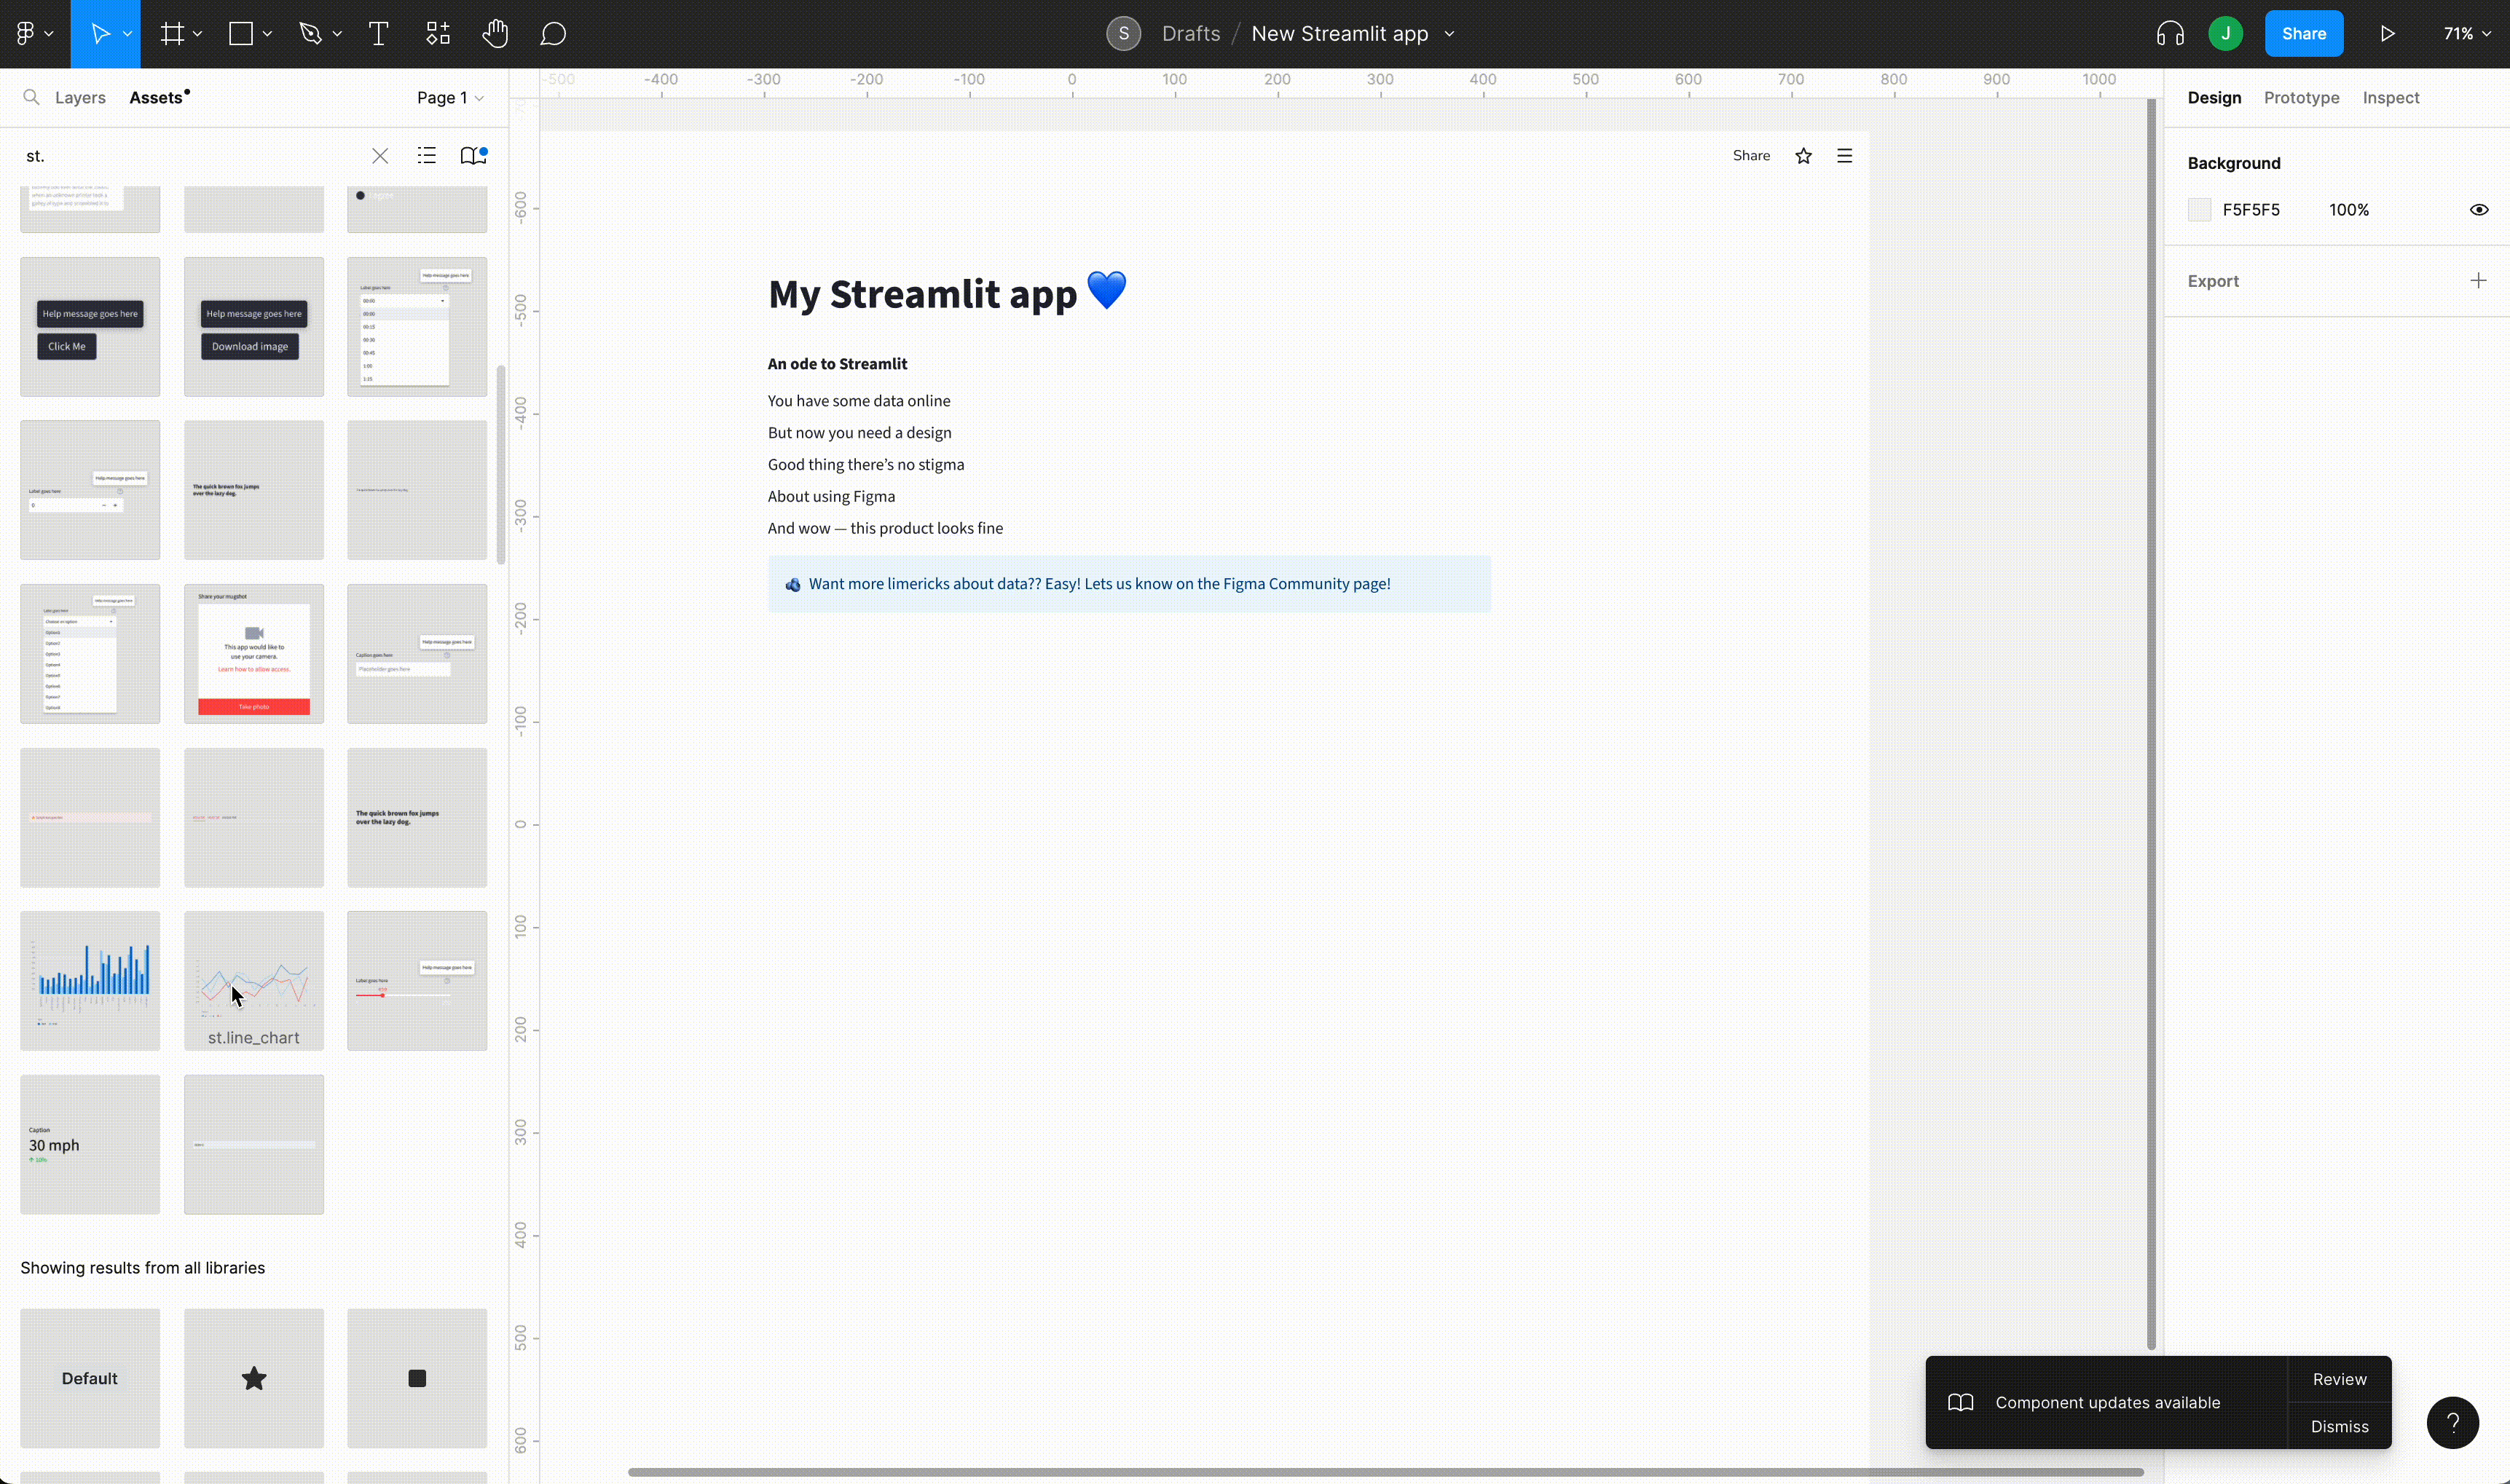
- Go to the “Assets” tab to find all your Streamlit components
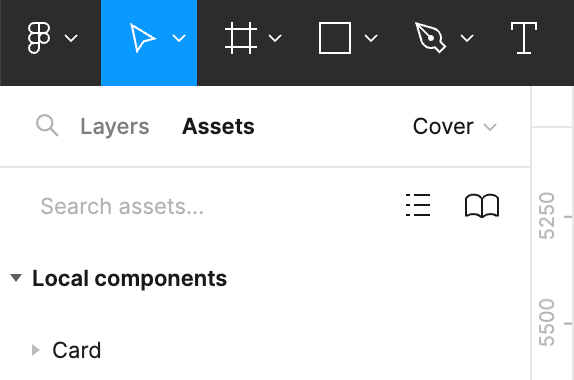
- Type “App Base” in your search assets bar
- Start adding components!
If you want to check it out right away, here's our Streamlit Design System in Figma. Go ahead and start building!
Step 1
Visit our Streamlit Community page on Figma to see our Design System. Follow us to learn about new designs, new components, and other new updates. 💙
Step 2
Click on Streamlit Design System and make a copy. It will appear in your personal Figma account so you can play with it as you wish:
Step 3
Go to the “Assets” tab to find all your streamlit components:
Step 4
Building your app is super simple! Just type “App Base” in your search assets bar:
Once you have the base, follow the instructions to detach the instance. Start dragging and dropping components to your heart’s desire. And use the app base for the perfect layout (simply decide what you want to put in it).
Step 5
Start adding components! They’re labeled by their Streamlit Python command (i.e., st.text_input). Unsure what to add? Pick one component from the library on the third page of the Design System: 🧱 Streamlit Components—Build your app (learn more about our widgets in our docs).
Wrapping up
This is a passion project and a work-in-progress that will continue to evolve. We’ve been using it to prototype concepts and innovate around app creation. Please try it out and comment on our Figma community page. We’d love to hear your feedback.
If you have questions, leave them in the comments below or message me on LinkedIn.
Happy designing and building! 🎨
P.S.: This post is Part 1 of the series on empowering designers to build their own apps. Check out Part 2 here!


Comments
Continue the conversation in our forums →